
24-Hour Arrival Guarantee
Get Fast Aircond Service, WhatsApp Us And Book In Just 5 Minutes
Professional Service
CIDB Certified Technicians
No Hidden Costs
Clear Transparent Pricing
Cheapest Aircond Service
Insanely Iow Prices For Aircond Installation And Servicing In Malaysia
Guaranteed Arrival Within 24 Hours!

Aircond Leaking Water

Aircond Is Running But Not Cold

Noisy Compressor, Not Running
Not Cold? Get the Cheapest Aircond Installation & Aircond Service in Malaysia!
The most value-for-money aircond installation and servicing in Malaysia. 4-Hour Express Service.
Aircond Service Malaysia
Aircond Installation Malaysia
Free 10 feet of copper pipe
Other Aircond Services Malaysia
4-Hour Express Aircond Installation & Service Malaysia. Same-day service available


Chemical Wash Aircond Step by Step (Malaysia): What Pros Actually Do
Direct answer
Chemical wash aircond step by step usually means opening the indoor unit, protecting the area, applying coil-safe chemical, rinsing thoroughly, cleaning blower/drain tray, flushing the drain line, then reassembling and test-running for temperature drop and leak-free drainage. A proper job is as much about rinsing + verification as it is about spraying chemical.
Quick answer
If your aircond is cooling weakly, smells musty, or drips intermittently, a normal service may not reach the parts that actually hold grime—especially the indoor coil, blower wheel, and drain tray. Chemical wash is a deeper clean, but it must be done carefully to avoid water mess, electrical exposure, or reassembling errors.
In Malaysia, common triggers are haze periods, renovation dust, daily night use, and humid rooms that keep the coil wet longer. The “step-by-step” below matches what you should expect from a professional chemical wash aircond—and what to ask if you want the job done properly, including how to get a proper deep clean scope before booking.
Soft CTA near top
If you’re unsure whether you need chemical wash or just standard servicing, WhatsApp/Call Local Aircond Team with: (1) your aircond model (inverter/non-inverter), (2) “smell / weak cool / leaking” symptom, and (3) when it last got serviced. We’ll tell you what level of cleaning usually fits—no pressure.
Why local expertise matters
Aircond issues in Malaysia often look “normal” until you factor in local conditions: high humidity, dusty construction cycles, condo drainage routing, and tight installation spaces that affect access and rinsing. A technician who works locally tends to spot practical risks fast—like where water might overflow, which drain route is partially blocked, or whether the unit’s casing fitment is likely to cause vibration after reassembly.
What you want isn’t just “clean.” You want clean + dry + correctly reassembled + verified so cooling improves and leaks don’t start the next day.
Service overview (what it is / who it’s for)
Aircond chemical wash + deep cleaning is a deeper cleaning process (mainly indoor unit; sometimes outdoor coil if relevant) intended to remove stubborn buildup that normal servicing may not remove.
Who it’s typically for
- Aircond that cools but not strongly, even after basic cleaning
- Musty smell when turning on
- Water dripping or recurring drain tray overflow
- Units in dusty environments (renovation, roadside, workshops)
- Heavy-use rooms (bedrooms running nightly, small offices)
When it may not be necessary
- Newer units with light dust and strong airflow (may only need normal servicing)
- Cooling issues caused by incorrect sizing, insulation leaks, or electrical faults
Types of services (when relevant)
- Indoor chemical wash (FCU focus): coil + blower + drain tray + drain line (most common)
- Outdoor coil rinse/clean (ODU where relevant): when airflow through condenser is clearly restricted or the unit is exposed to heavy debris
- Targeted deep clean: when the problem is localized (e.g., blower cleaning + drain tray cleaning, without full disassembly)
Step-by-step process (what a proper chemical wash looks like)
Use this aircond chemical cleaning process as a reality-check. Exact steps vary by unit design, but the logic stays the same.
1) Symptom check and baseline
- Confirm symptoms (smell, weak cooling, dripping)
- Quick checks: airflow strength, obvious water marks, unusual noise
- Optional but useful: temperature split (return vs supply), if tools are available
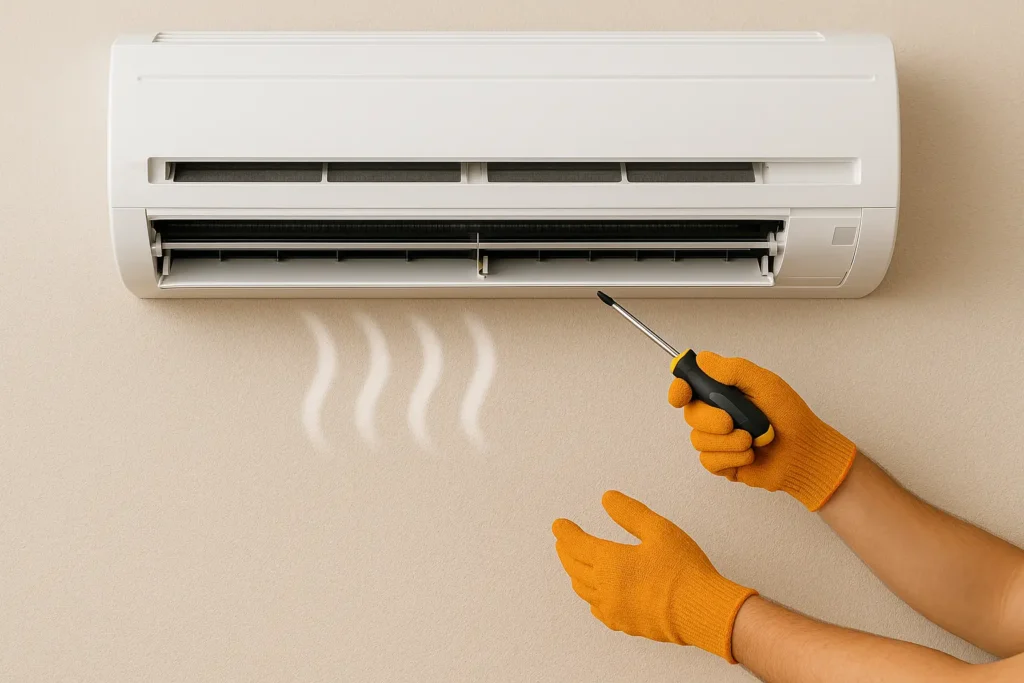
2) Power isolation and area protection
- Switch off at remote and isolate power where possible
- Cover floor/walls; install a proper cleaning bag around the indoor unit
- Protect nearby furniture—especially in condos with tight wall spacing
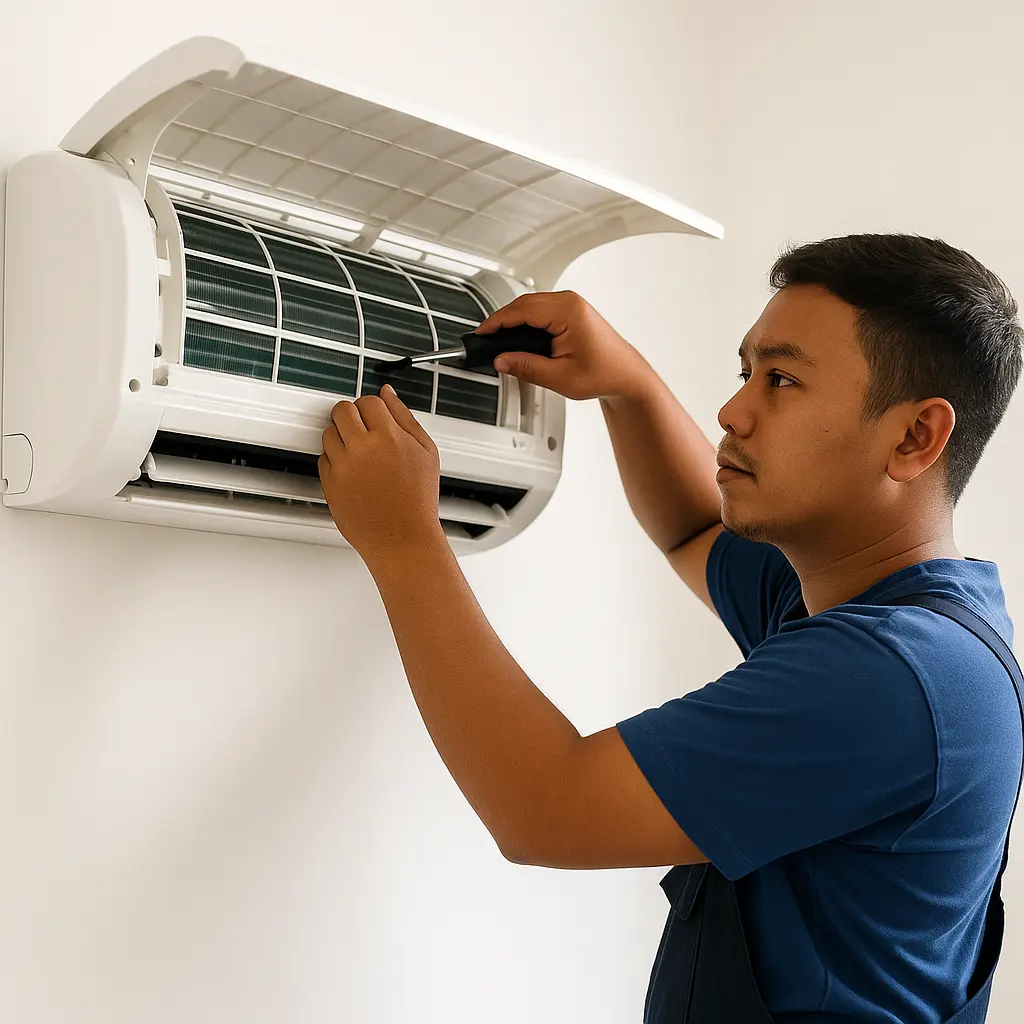
3) Open casing and inspect “dirt path”
- Remove cover and filters
- Visual check: coil fins condition, drain tray slime, blower wheel dust ring
- A good tech explains what they see before washing
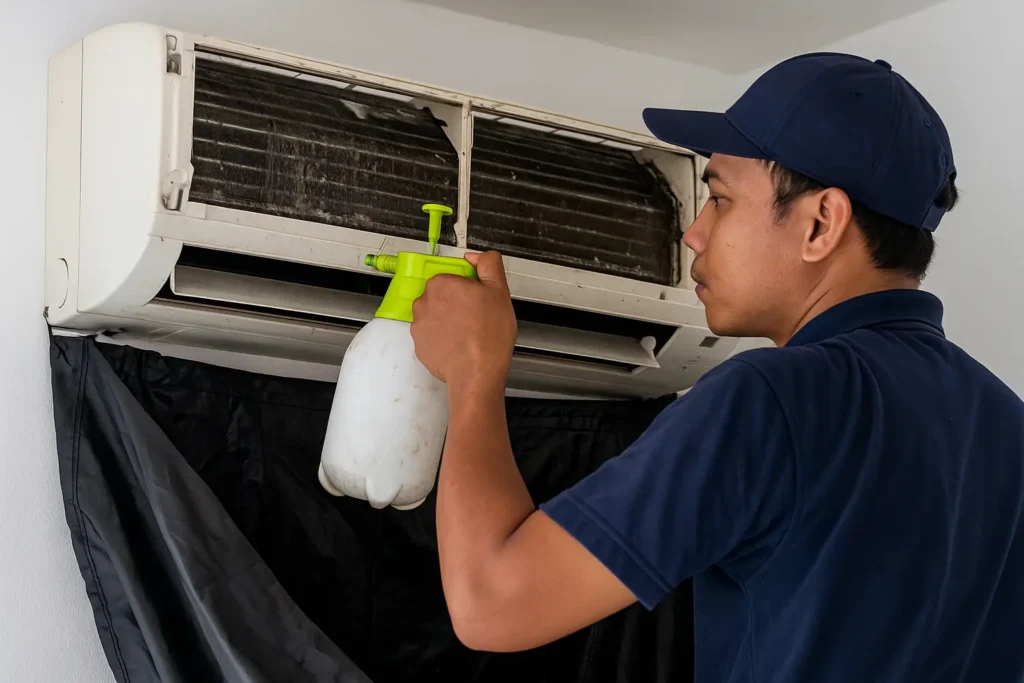
4) Indoor coil chemical application (coil-safe)
- Apply chemical to coil surfaces (even coverage, not just the front face)
- Allow short dwell time (not “spray and leave”)
- Goal: loosen biofilm and stubborn grime without damaging materials
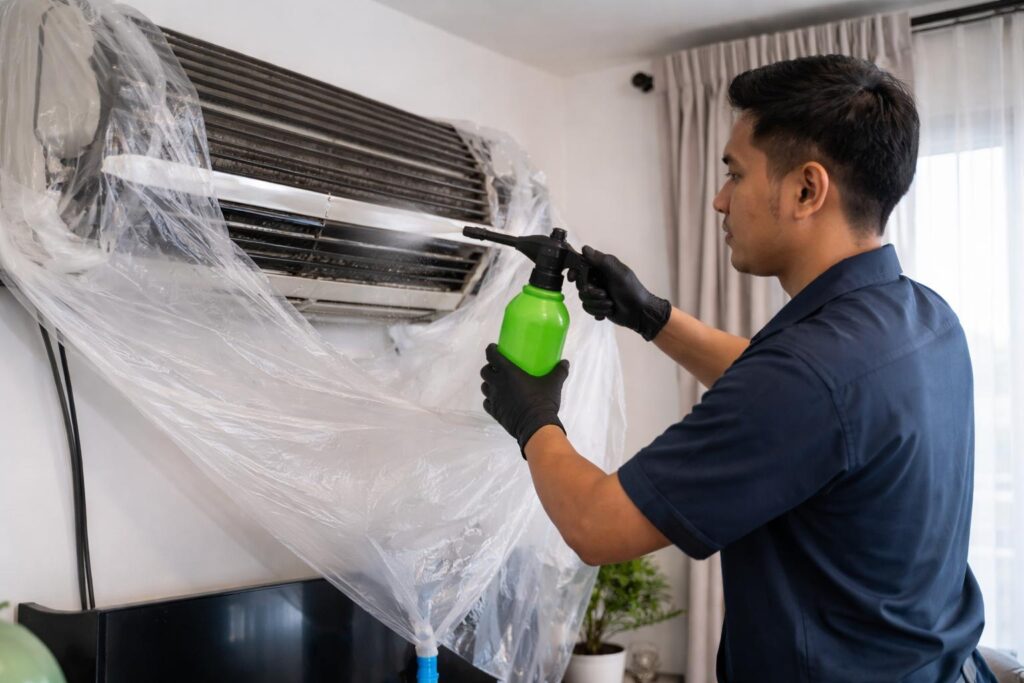
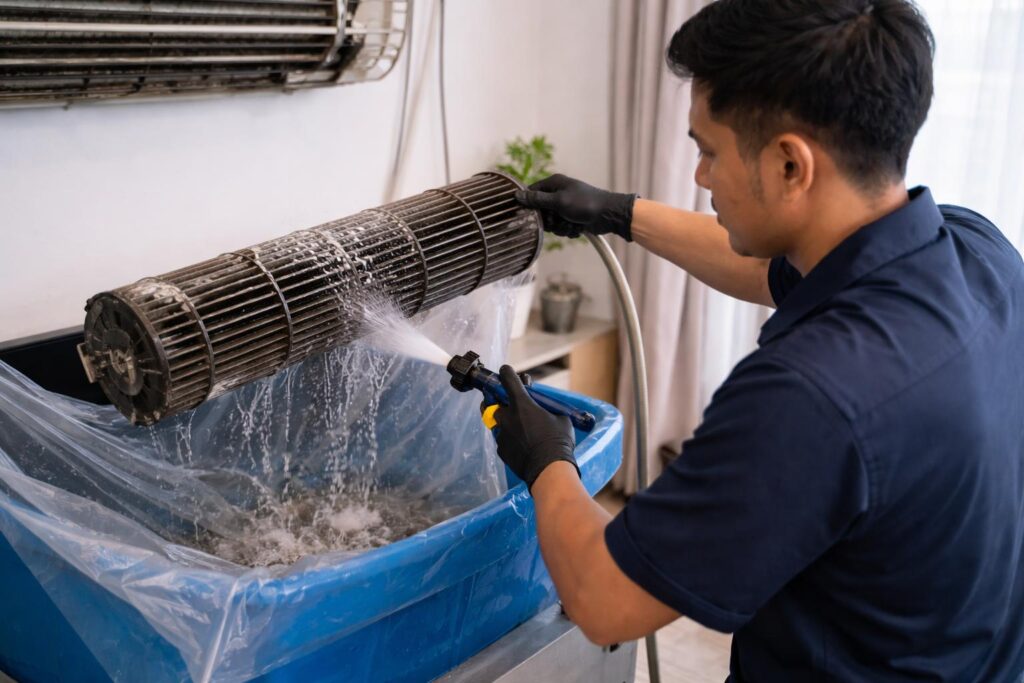
5) Controlled rinsing (the step that separates good vs sloppy)
- Rinse thoroughly so residue doesn’t stay inside the unit
- Water should flow cleanly into the bag and out through the drain path
- Rushing this step can leave smell or sticky residue
6) Blower cleaning (when needed)
- Clean the blower wheel fins where dust packs and reduces airflow
- If heavily caked, partial disassembly may be required
- Check balance/no wobble after cleaning
7) Drain tray cleaning
- Remove sludge/biofilm that causes musty smell and overflow
- Confirm tray alignment (misalignment can create “new leaks”)
8) Flush the drain line
- Flush to clear partial blockages (common cause of intermittent leaks)
- Verify water exits properly at the drain outlet point
9) Reassembly and noise/vibration check
- Clips seated, casing aligned, filters clean, louvers not rubbing
- Loose fitment can cause rattles and water escaping wrong channels
10) Test run and verification
- Confirm stable airflow, no new noise, no dripping
- Confirm drainage during run (not just immediately after rinse)
- Smell check: sharp chemical smell often points to poor rinsing
What’s included / not included
Usually included (indoor-focused chemical wash)
- Indoor coil cleaning (indoor coil cleaning)
- Blower surface cleaning (where accessible/required)
- Drain tray cleaning (drain tray cleaning)
- Drain line flushing (flush drain line aircond)
- Filter cleaning
- Reassembly + test run verification
Often not included (unless agreed upfront)
- Gas top-up (only if diagnosed as low; not automatic)
- PCB/electrical repairs
- Full blower wheel removal for every job (depends on severity/model)
- Outdoor unit deep chemical wash (only when relevant)
- Fixing installation issues (slope/piping route problems)
Frequency and best-practice guidance (by scenario)
Condo bedrooms (nightly use)
Consider deeper cleaning when airflow drops, smell starts, or drainage becomes inconsistent—especially after renovation dust nearby.
Landed homes near main roads
Dust load is higher; normal service may be needed more often, while chemical wash is “as-needed” when performance/smell indicates buildup.
Small offices (long hours)
Coil stays wet longer; biofilm forms faster. Pay attention to smell and “stuffy air” complaints.
Rental units
Use condition-based checks (smell + airflow + leaks). Don’t assume chemical wash is required unless symptoms match.
Cost factors (no exact prices) + what a fair quote includes
Chemical wash cost varies by:
- Unit type and access (height, wall position, tight piping space)
- Inverter vs non-inverter handling precautions
- Severity (light grime vs heavy slime/biofilm)
- Whether blower removal is required
- Whether outdoor coil cleaning is included
What a fair quote includes (checklist)
- Clear scope: indoor only vs indoor + outdoor
- Protection method: cleaning bag + floor protection
- Which parts will be cleaned: coil, blower, drain tray, drain line
- Rinsing and drainage verification included
- Reassembly and test-run checks included
- Optional add-ons explained separately (not bundled as mandatory)
Common problems/symptoms + what usually helps
Aircond smells bad when switched on
Often biofilm in drain tray/coil + poor rinsing history. Chemical wash helps if tray + drain line + proper rinse are done.
Cooling weak but fan sounds normal
Often coil airflow restriction or blower caking. Deep clean can restore airflow; if still weak, diagnostics may shift to gas/system issues.
Water dripping or leaking after cleaning
Common causes: drain line still partially blocked, tray not seated correctly, or casing misalignment redirecting water. Verification during test run matters.
Airflow feels “soft” even at high fan
Often blower wheel dust ring. This is why “just spray coil” sometimes doesn’t fix the real bottleneck.
Inverter aircon chemical wash safe?
Generally safe when power isolation + water control + careful rinsing are done. The risk is usually workmanship—water exposure to electronics or rushed reassembly.
Mistakes to avoid
- Choosing chemical wash just because cooling dropped once (sometimes it’s a filter or drainage issue)
- Accepting a job that focuses on spraying chemical but skips proper rinsing
- Not asking whether blower and drain tray are included—common smell/leak sources
- Not running the unit long enough to verify drainage (leaks often show after 10–20 minutes)
- Treating “chemical wash vs normal service” like a fixed rule instead of symptom-based
Pre and post checklist
Before the appointment
- Clear space under/near the indoor unit
- Share symptoms: smell/weak cool/leak + when it happens
- Mention condo access rules (parking, entry, time window) if applicable
After the job
- Run the unit 15–20 minutes: confirm no dripping
- Confirm airflow feels stronger and cooling improves
- Smell check: should not be sharp/chemical
- Ask where the drain outlet is and confirm water is exiting properly
FAQs
Not always “full dismantle,” but a proper chemical wash usually requires opening the casing and controlling rinse water. If nothing is opened and there’s no rinse/collection bag, it’s likely not a true deep clean.
Normal service typically focuses on filters and surface cleaning. Chemical wash targets deeper buildup on the coil/blower/drain tray with chemical + thorough rinsing—useful when smell, airflow restriction, or recurring drainage issues show up.
It depends on dirt level and access. Light buildup is quicker; heavy blower/drain slime takes longer because rinsing and drainage verification can’t be rushed.
Often that points to biofilm in the tray/coil area. A deep clean can help, but make sure the scope includes drain tray cleaning and drain line flushing, not coil-only spraying.
Chemical wash can improve airflow and heat exchange, but it won’t “replace” refrigerant. If gas is genuinely low, the real fix is leak diagnosis + proper rectification—not repeated top-ups.
Usually safe when power is isolated, water is controlled, and rinsing is careful. The key is workmanship: shielding electronics and not flooding sensitive areas.
At minimum: coil cleaning + thorough rinse, blower/tray attention where needed, drain line flush, reassembly, and a test run with leak/drain verification.
Common reasons: drain line wasn’t fully cleared, tray wasn’t seated properly, or casing alignment redirects water. A proper post-clean test run usually catches this before the technician leaves.
Harsh handling or aggressive brushing can bend fins. A careful tech uses appropriate chemical, gentle technique, and controlled rinse—especially on older coils.
Light cleaning (filters, external wipe-down) is DIY-friendly. Deep chemical wash is riskier without proper water containment and access to internal parts—mistakes can cause leaks or electrical issues.
Only when it’s clearly clogged with debris or airflow is blocked. Many cases are indoor-side issues (coil/blower/tray). Outdoor cleaning can help, but it should be symptom- and inspection-based.
Ask where the drain outlet is and confirm water discharge during the run. A good tech can show flow or explain the drain path clearly.